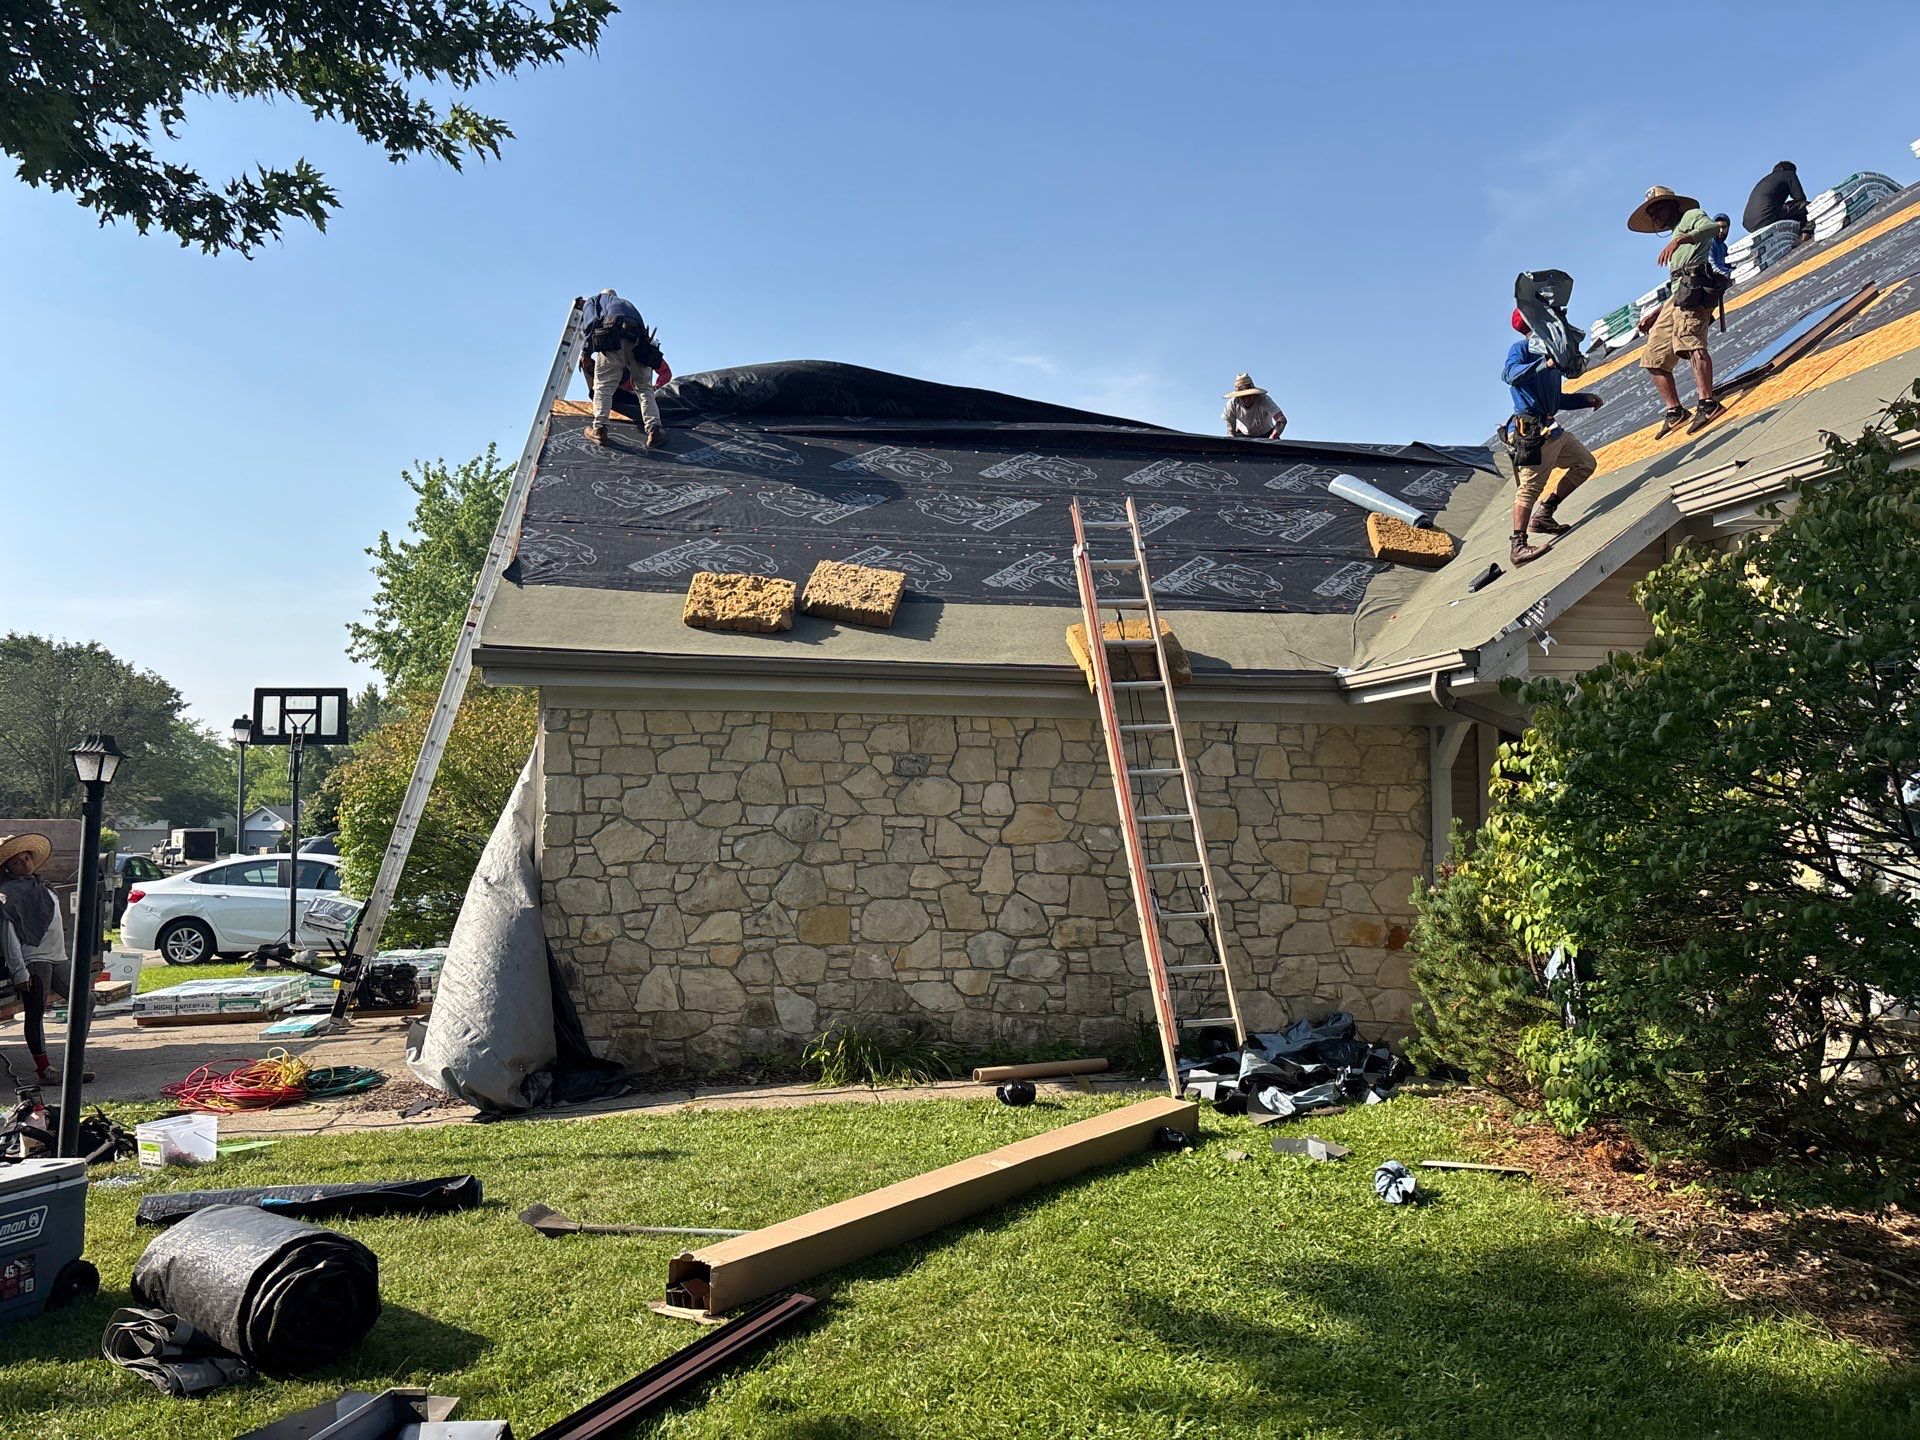
Step 1: Document Conditions Before Climbing
- Record the outdoor air temperature. Inspect between 60 and 85 degrees Fahrenheit when possible. Shingles above 90 degrees scuff under foot traffic.
- Note roof age from permit records or prior invoices. Heat damage accelerates after year 12 on a 3-tab and after year 15 on architectural shingles.
- Photograph all four elevations from the ground at 20 to 30 feet back using a 24mm or wider lens.
- Check attic temperature with an infrared thermometer. A reading more than 40 degrees above ambient signals inadequate ventilation.
- Log wind speed and cloud cover. Gusts above 15 mph distort granule assessment, and partial cloud cover skews thermal readings by 10 to 20 degrees within minutes.
- Record the time of day. Morning inspections between 7 and 10 AM give the most stable surface temperatures for safe foot traffic on Kingsborough roofs.
Step 2: Measure Attic Ventilation
- Calculate total attic floor area in square feet.
- Divide by 150 to get required net free ventilation area in square inches, split 50/50 between intake and exhaust.
- Inspect soffit vents for paint blockage, insulation baffles, or bird nesting. Replace any baffle crushed below 1 inch clearance.
- Verify ridge vent continuous opening at 1.5 to 2 inches wide with no shingle overlap closing the slot.
- If mixing ridge vent with powered or gable fans, disable one. Short circuiting cuts effective exhaust by 30 to 50 percent.
- Check insulation depth at the eave. R-38 or higher should not block the air channel. A 2 inch minimum air gap must remain above the insulation line at every rafter bay.
- Inspect for bath fan or dryer vents terminating inside the attic. Redirect these to exterior caps to prevent moisture loading that amplifies heat damage.
Step 4: Flashing and Penetration Review
- Examine step flashing at sidewalls. Vertical leg should measure 4 inches minimum, horizontal 2 inches minimum.
- Check pipe boot collars. EPDM rubber collars typically fail between years 7 and 10 in Kingsborough sun. Look for radial cracking at the pipe base.
- Inspect chimney counter flashing for mortar joint separation greater than 1/8 inch.
- Press on all exposed sealant beads. Heat cured caulk turns chalky and crumbles. Replace any bead showing loss of elasticity.
- Verify drip edge overhang of 1/4 to 3/4 inch past fascia, kick angle 3/8 inch minimum.
- Inspect skylight curb flashing for bent corners and saddle presence on the upslope side. A missing cricket on any skylight wider than 30 inches is a deferred failure.
- Probe valley metal for pitting. W-valleys show heat fatigue at the center crimp after 15 to 20 years.
A Closing Note on Summer Roof Care
The thread through all of these steps is that summer roof care is mostly about the attic and the sun facing slopes. Keep the attic ventilated and the insulation even, watch the south and west slopes where wear shows first, and check the flashing and sealants that the heat works loose. Do those few things, and a Kingsborough roof rides out Kingsborough summers far better than one left to bake unattended. Most heat damage is preventable, and the prevention is cheaper than the repair every time.
Step 5: Deck and Substrate Evaluation
- From the attic, check for daylight through decking. Any pinhole of light indicates a failed nail seal.
- Probe any dark staining on OSB or plywood with an awl. Resistance under 40 pounds of hand pressure means delamination.
- Measure deck moisture with a pin meter. Readings above 18 percent require drying before any overlay.
- Confirm decking thickness. Minimum 7/16 inch for 16 inch on center rafters, 1/2 inch preferred for nail retention under thermal cycling.
- Check rafter spacing at the ridge and mid span. Sag greater than 3/8 inch over 8 feet suggests structural fatigue beyond simple heat damage.
Step 7: Decision Matrix
- Repair if issues are localized to one slope, shingles are under 12 years old, and fewer than 10 tabs need replacement.
- Partial replacement if one elevation shows systemic failure but adjacent slopes test sound. Match shingle line and color lot where possible.
- Full replacement if two or more slopes show field wide granule loss, blistering above threshold, or deck moisture over 18 percent. Our signs your roof needs replacement guide details these thresholds further.
- Consider upgrade to metal roofing if the current system has failed twice within 25 years. Metal reflects 60 to 70 percent of solar radiation versus 15 to 25 percent for dark asphalt.
- Factor insurance carrier age cutoffs. Many Kingsborough policies reduce coverage to actual cash value on roofs past 15 years, shifting the repair versus replace math.
Step 8: Post-Inspection Actions
- Deliver a written report with photos keyed to slope and elevation.
- Include measured values: attic temperature delta, ventilation ratio, blister count, nail pop count, moisture reading.
- Provide three pricing tiers when replacement is warranted: builder grade, architectural, and impact rated Class 4.
- Schedule re inspection at 18 months for borderline roofs to track progression.
- Attach a ventilation upgrade estimate separate from shingle pricing. Correcting intake or exhaust deficits often extends the next roof by 3 to 5 years.
- Provide a maintenance checklist covering gutter clearing, sealant touch up, and biannual attic checks between June and September.
Following this sequence on every Kingsborough summer inspection keeps the assessment objective. The numbers decide, not a gut read. Kingsborough Roofing field crews carry this checklist laminated on every truck, and every report gets cross checked against the same thresholds before it leaves the office.
Step 3: Field Shingle Assessment
- Walk every slope in a grid pattern, 4 foot lanes, starting at the eave.
- Check for granule thinning. Bald patches larger than a quarter indicate binder breakdown from UV and heat.
- Press gently on random tabs. A properly sealed tab resists lift at 5 pounds of pull. If tabs release with fingertip pressure, the thermal seal has failed.
- Look for thermal blistering. Raised bumps 1/8 to 1/2 inch in diameter are gas pockets from trapped moisture heated repeatedly. Count blisters per 100 square feet. Over 20 per 100 is a replacement indicator.
- Inspect for shingle curling at corners. Cupping greater than 1/4 inch signals end of service life.
- Sample granule loss in the gutters. A 1 gallon bucket of granules collected from 40 linear feet of gutter indicates accelerated wear.
- Check south and west slopes first. These faces absorb 25 to 40 percent more solar load annually and fail before north and east exposures.
- Note color fade patterns. Uneven bleaching between tabs points to mixed production lots or premature binder failure.
When you log more than three of these conditions on a single slope, a targeted roof repair may no longer be cost effective compared to replacement.
Step 6: Fastener and Seal Integrity
- Count visible nail pops per 100 square feet. Four or more per square indicates thermal cycling has loosened fasteners across the field.
- Verify nail placement. Nails driven above the sealant strip void the shingle warranty and lift under heat expansion.
- Check for backed out ring shank nails at ridge caps. Ridge is the hottest zone, often 10 to 15 degrees above field temperature.
- Inspect starter strip adhesion at the eaves. A lifted starter under 10 pounds of pull exposes the first course to wind and heat infiltration.
- Sample 6 to 10 fasteners per slope for rust bloom at the head. Rust staining on the shingle surface confirms galvanization loss and premature fastener failure.